|
To attach the wheel to the lazy susan you want to use 4 bolts, washers, and locking nuts. You can also lay the support triangle down to have big wheel sit level on the lazy susan that way you don’t have to hold the big wheel up. You may need to drill the holes larger on the lazy susan to fit the bolts. You want to make sure to line up the center of the wheel with the lazy susan. You can insert the shaft through the big wheel and all the rest of 5/8 holes to help get the wheel aligned properly. Once you have the wheel aligned mark the wheel where the holes are for the lazy susan, then drill the ¼ inch holes for the bolts.
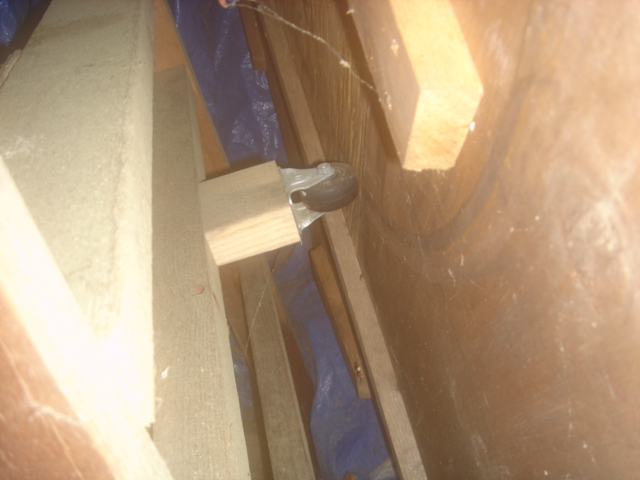 Next, just attach the wheel to the triangle frame but do not tighten the bolts yet. See if the wheel spins and if the wheel is hitting any part of the triangle support you want to add a wheel there so that it rolls up against the wheel as it goes around. When attaching the wheel make sure that it doesn’t hit any of the blocks of wood holding the wheel together as it spins. You may have to remove a couple of blocks to do this. Next, just attach the wheel to the triangle frame but do not tighten the bolts yet. See if the wheel spins and if the wheel is hitting any part of the triangle support you want to add a wheel there so that it rolls up against the wheel as it goes around. When attaching the wheel make sure that it doesn’t hit any of the blocks of wood holding the wheel together as it spins. You may have to remove a couple of blocks to do this.
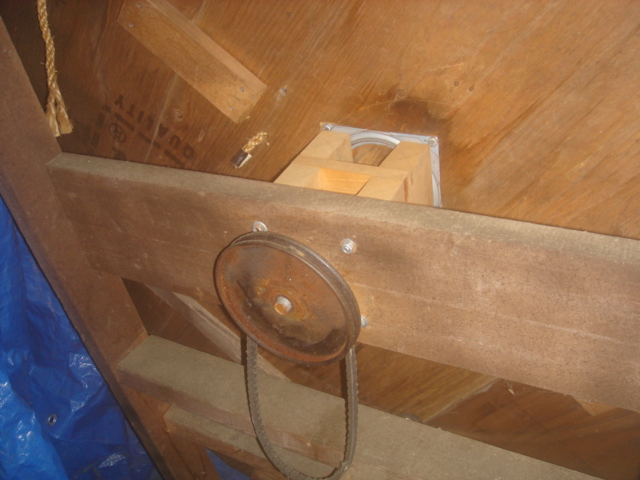 Once you have the wheel rotating freely you need to attach the shaft to the wheel. You need to drill a ¼ inch hole in one end of the rod this is for the locking pin to lock the wheel to the shaft. Once the hole is drilled, slide the rod in making sure that the hole in the rod lines up with the hole in the 4 inch square block. Use a 4 inch long ¼ inch bolt to lock the rod to the wheel. At the other end of the rod you can now attach the 6 inch V-belt wheel. You can also attach the smaller V-belt wheel to the shaft of the motor. Once you have the wheel rotating freely you need to attach the shaft to the wheel. You need to drill a ¼ inch hole in one end of the rod this is for the locking pin to lock the wheel to the shaft. Once the hole is drilled, slide the rod in making sure that the hole in the rod lines up with the hole in the 4 inch square block. Use a 4 inch long ¼ inch bolt to lock the rod to the wheel. At the other end of the rod you can now attach the 6 inch V-belt wheel. You can also attach the smaller V-belt wheel to the shaft of the motor.
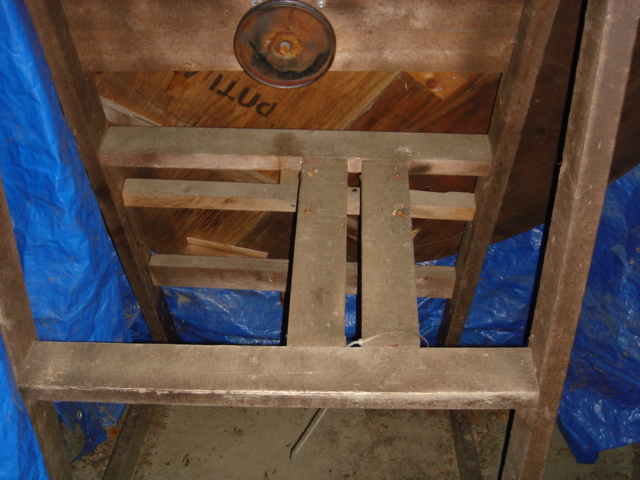 To attach the motor to the triangle frame we need to make a support for it. The distance between the motor and the big wheel will depend on how long you V-belt is. When making up a motor frame make sure the frame is at the same angle as the V-belt wheel on the big wheel. This will keep the V-belt from slipping off both wheels. Take a look at the picture to get an idea on how to build a support for the motor. To attach the motor to the triangle frame we need to make a support for it. The distance between the motor and the big wheel will depend on how long you V-belt is. When making up a motor frame make sure the frame is at the same angle as the V-belt wheel on the big wheel. This will keep the V-belt from slipping off both wheels. Take a look at the picture to get an idea on how to build a support for the motor.
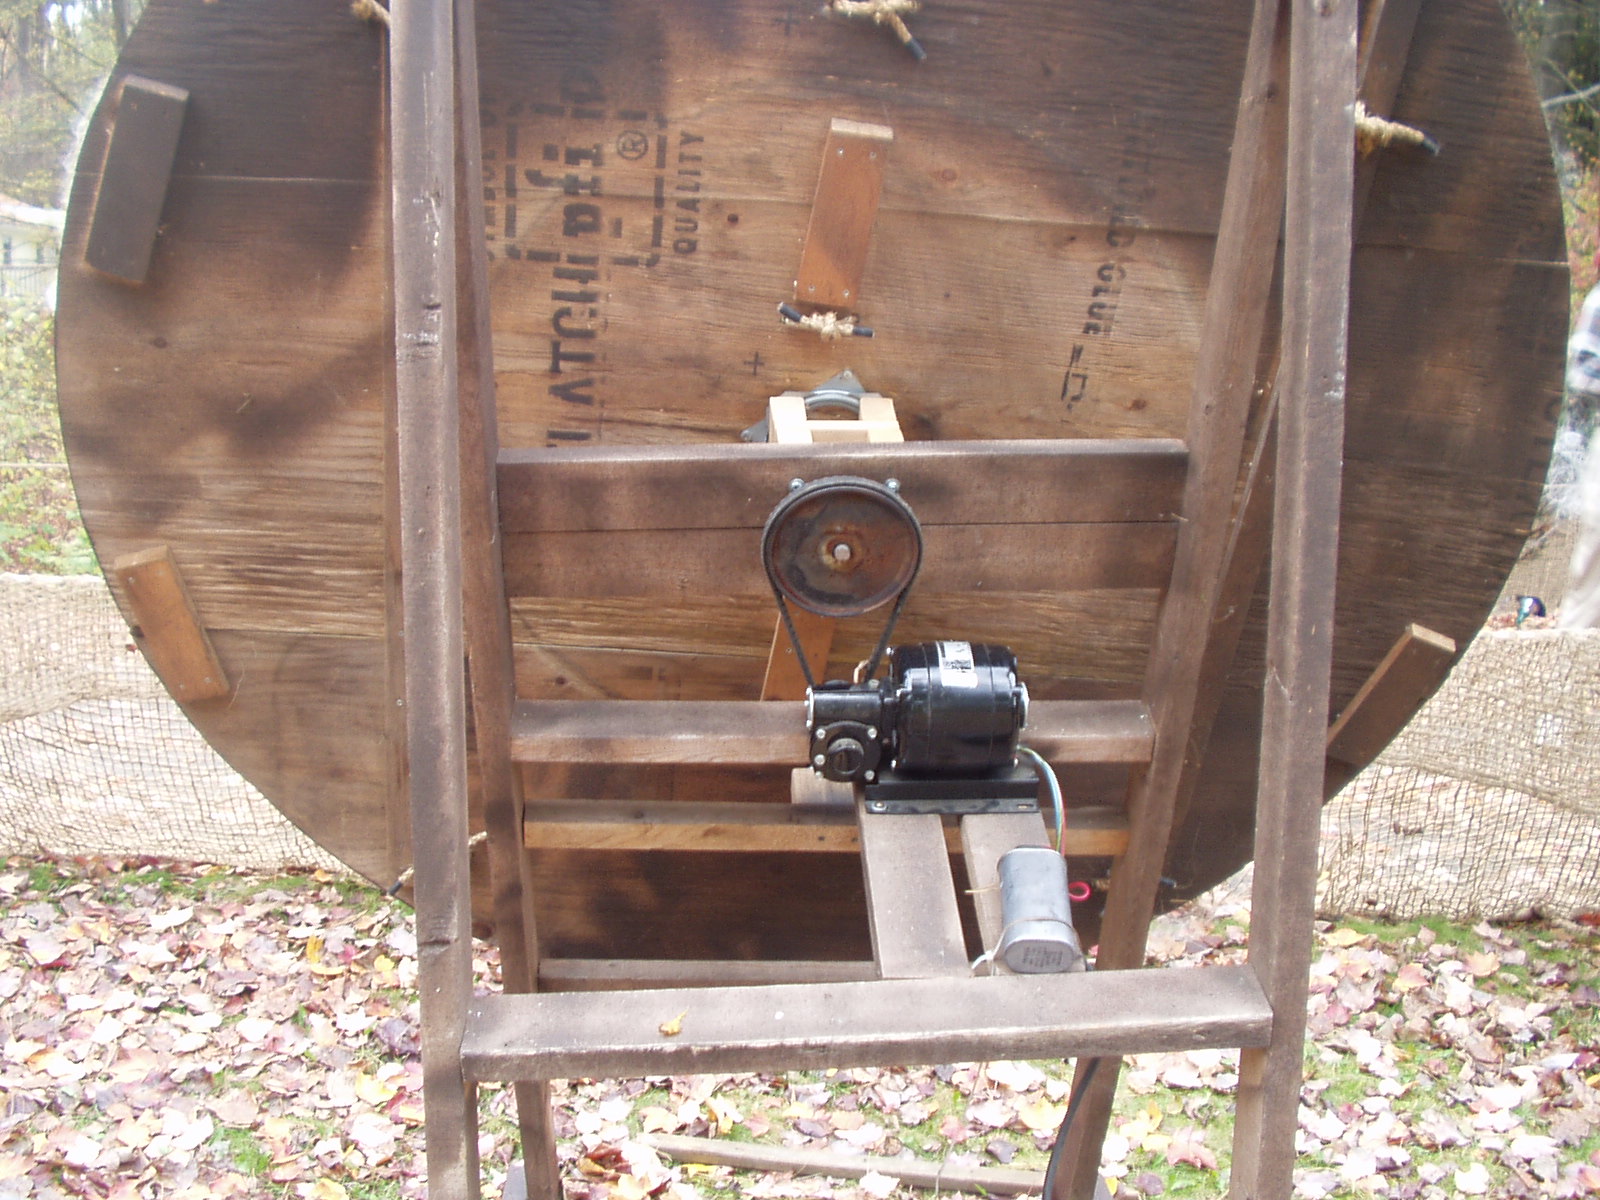 Once you play around with the positioning of the motor you can attach something to the front of the wheel. Whatever you put on your wheel make sure that the weight is distributed over the whole wheel. This way it will put less stress on the motor. Also painting your Wheel of Death can be done to give it that personal touch. Once you play around with the positioning of the motor you can attach something to the front of the wheel. Whatever you put on your wheel make sure that the weight is distributed over the whole wheel. This way it will put less stress on the motor. Also painting your Wheel of Death can be done to give it that personal touch.
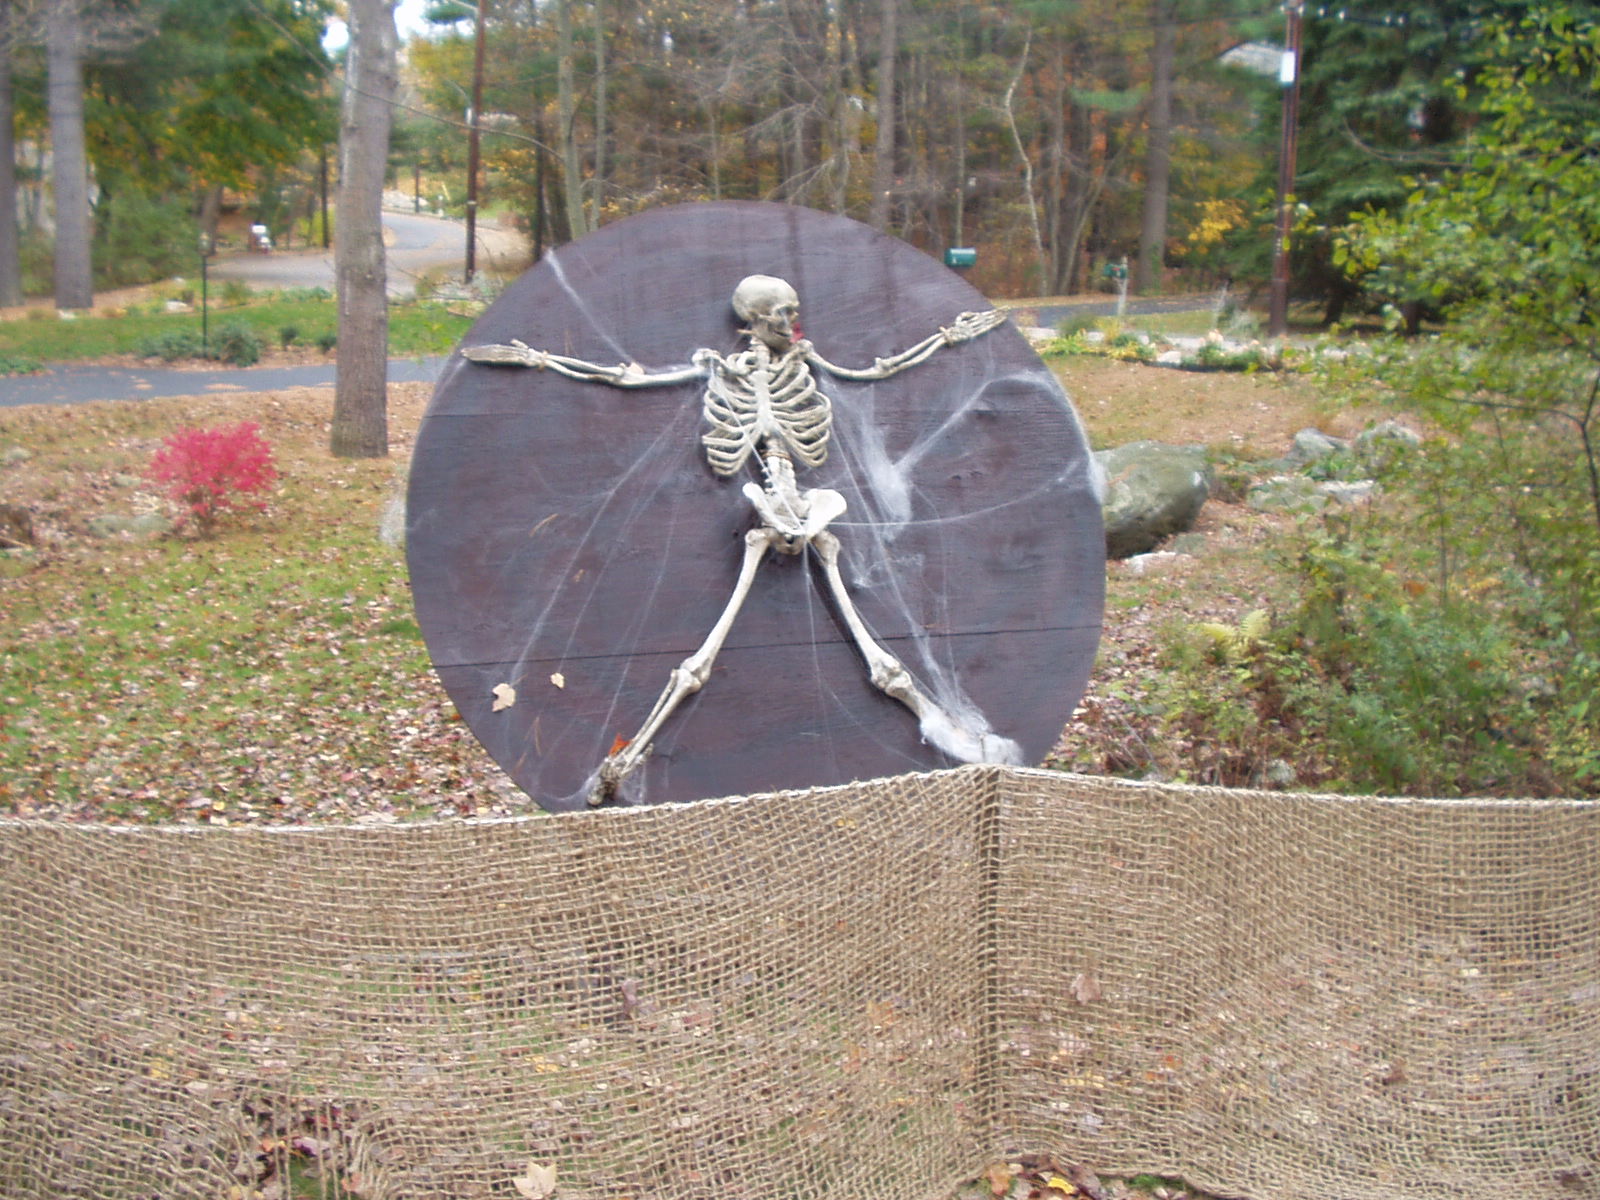 The finished Wheel of Death The finished Wheel of Death
|